There’s nothing better than a fresh pedicure before sandal season or a warm‑weather trip—especially one that lasts for weeks without chipping. Here’s how to get a salon‑cured finish right at home.
What You’ll Need
- Foot basin – for warm soaking
- Epsom salts or bath oil (optional)
- Foot scrub / pumice stone – for exfoliation
- Nail clippers & file – toenail‑grade clippers are best
- Cuticle pusher & nipper
- Rich foot cream – for moisture after soaking
- UV / LED lamp – essential for curing
- Gel polish set – base coat, colour(s), top coat
- Lint‑free wipes & cleanser / isopropyl alcohol
- Toe separators – optional but helpful
- Cuticle oil – for finishing and long‑lasting care
Step 1: Prepare Your Feet
Start with a clean slate. Soak your feet in comfortably warm water for about 10 minutes. Epsom salts or a few drops of bath oil can help soften skin and relax your muscles. After soaking, dry your feet well with a clean towel.
Next, gently exfoliate: use a foot scrub or a pumice stone, focusing on the heels, the balls of your feet, and any rough spots. Rinse and dry thoroughly. Finish the foot prep by massaging a rich foot cream into your feet. Let it fully absorb for at least 30–60 minutes before you start polishing, or do this step the night before.
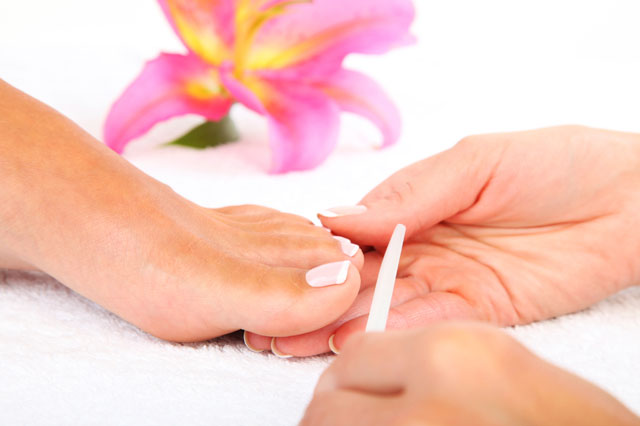
Step 2: Shape and Clean Your Toenails
Trim your toenails straight across to help prevent painful ingrown nails. Use a nail file to gently smooth the edges, and lightly buff the nail surface to remove shine – this helps the gel grip better. Push back the cuticles with a cuticle pusher, and only trim loose, dead skin with a nipper.
Wipe each nail with a nail cleanser or isopropyl alcohol on a lint‑free wipe to remove dust, oils, and cream residue. Keep your nails clean and completely dry before moving on. If you have them, pop toe separators between your toes to avoid accidental bumps.

Step 3: Apply the Gel Polishes (and Cure)
Gel polishes must be applied in thin layers and cured between each coat. If you apply a layer too thick, it may never fully harden or could feel uncomfortably hot under the lamp.
Base Coat
Apply an ultra‑thin layer of gel base coat to one foot. Make sure to cap the free edge (run the brush along the nail tip). Keep a very small gap from the cuticle – about 1 mm. Cure according to your lamp’s instructions; many LED lamps need 30–60 seconds, while UV may take 2 minutes. Repeat on the other foot as needed.
Colour
Apply a thin coat of your chosen colour, again capping the free edge. Cure. Apply a second thin coat and cure again. Most gel polishes look best with two thin coats; a thick single coat will be more likely to peel.
Top Coat
Seal your work with a layer of gel top coat, cap the free edge once more, and cure fully. If any gel has strayed onto the skin, clean it off while it is still wet using an orangewood stick or your fingertip.
Step 4: After‑Care and Longevity Tips
After curing, some top coats leave a sticky “inhibition layer”. Wipe it away with a nail cleanser on a lint‑free wipe for a glossy finish.

Apply cuticle oil to each toenail and give your feet a final layer of rich foot cream. Daily cuticle oil and moisturiser help keep the gel flexible and prevent lifting at the edges.
For the longest wear:
- Wear flip‑flops or loose, open shoes for the first few hours.
- Avoid long baths or swimming for the first 24‑48 hours after your pedicure.
- Wear gloves when cleaning or washing dishes – water getting trapped between the gel and the nail is a common cause of early peeling.
- Never pick at a lifted corner; that tears layers off your natural nail.
Common Questions
How long will a DIY gel pedicure last? A gel pedicure can stay chip‑free for four weeks or longer, depending on your nail growth and how well you keep your feet moisturised.
Can I use the same UV/LED lamp for my toes as for my fingers? Yes – just make sure the lamp is wide enough for your feet and that your gel products are compatible with its wavelength.
Will gel polish weaken my toenails? If applied and removed properly, gel polish actually shields your natural nails from everyday wear and tear. Nail damage usually comes from peeling off the gel or skipping moisturiser.
What’s the safest way to remove gel polish? Buff the shiny top layer gently, then wrap each toe with a cotton ball soaked in pure acetone and a small wrap of foil. Wait 10‑15 minutes and gently push off the softened gel. Never scrape or pry, and always follow up with cuticle oil and moisturiser.
The Bottom Line
A DIY gel pedicure gives you durable, glossy colour that lasts for weeks without chipping. The secret is all in the prep: clean, dry nails with buffed surfaces, thin gel coats, patiently curing each layer, and capping the free edge. After your pedicure is finished, a daily drop of cuticle oil and a rich foot cream help the colour stay beautiful and healthy for far longer.
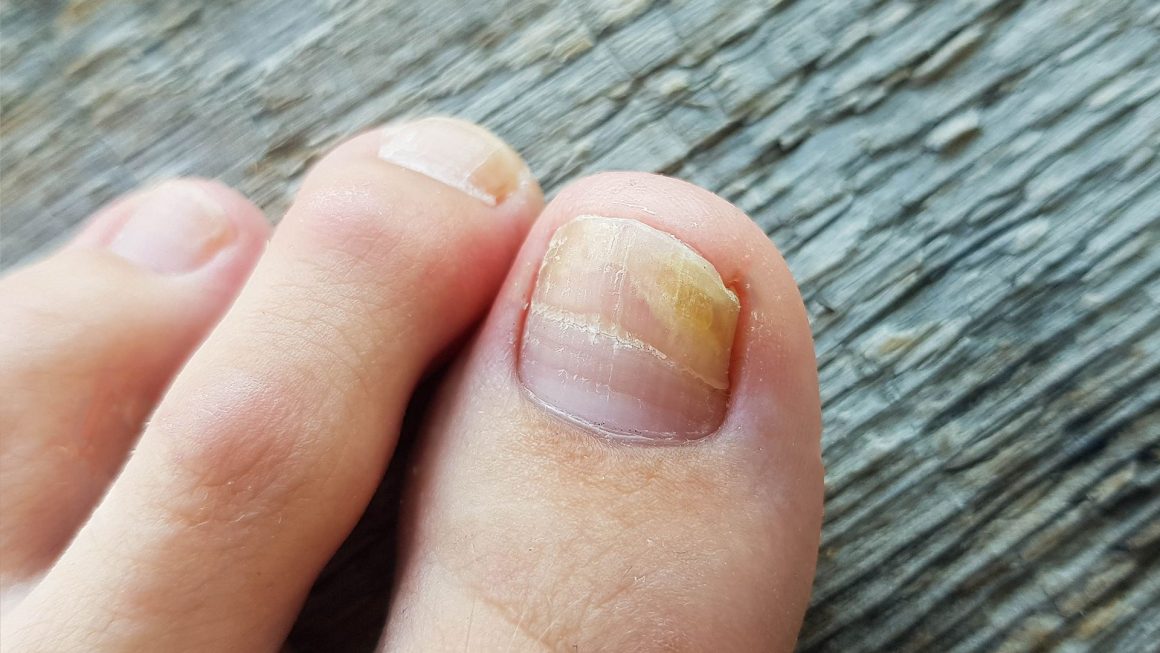
Read also: Nail Fungus: The Hidden Invader and How to Defeat It